How Does the Halt...
Jun 11, 2026
When I first dove into suspension upgrades, coil bracket kits felt like a maze of options. I’ve spent the last decade helping drivers navigate mounting solutions, ensuring their setup marries performance with reliability. In this guide, I’ll walk you through every critical step, sharing insights I’ve gathered from top industry blogs and real-world installs. By the end, you’ll know exactly which kit suits your ride and driving style.
A coil bracket kit is the hardware package that secures your coil spring or coilpack to the chassis or roll cage. These kits vary by application: some relocate coils behind the engine, while others mount directly onto strut towers. Knowing the core components—mounts, brackets, covers, and hardware—helps you match the right kit to your setup.
In High-Performance circles, enthusiasts often talk about coil bracket kits that support modern coilpacks like LS, LT, Coyote, EFI-swapped SBC, BBC and SBF engines. Motion Raceworks provides relocation brackets compatible with Smartcoil IGN1A, MSD CDI, Fueltech CDI, Holley Smart Coil, and Haltech style coilpacks.
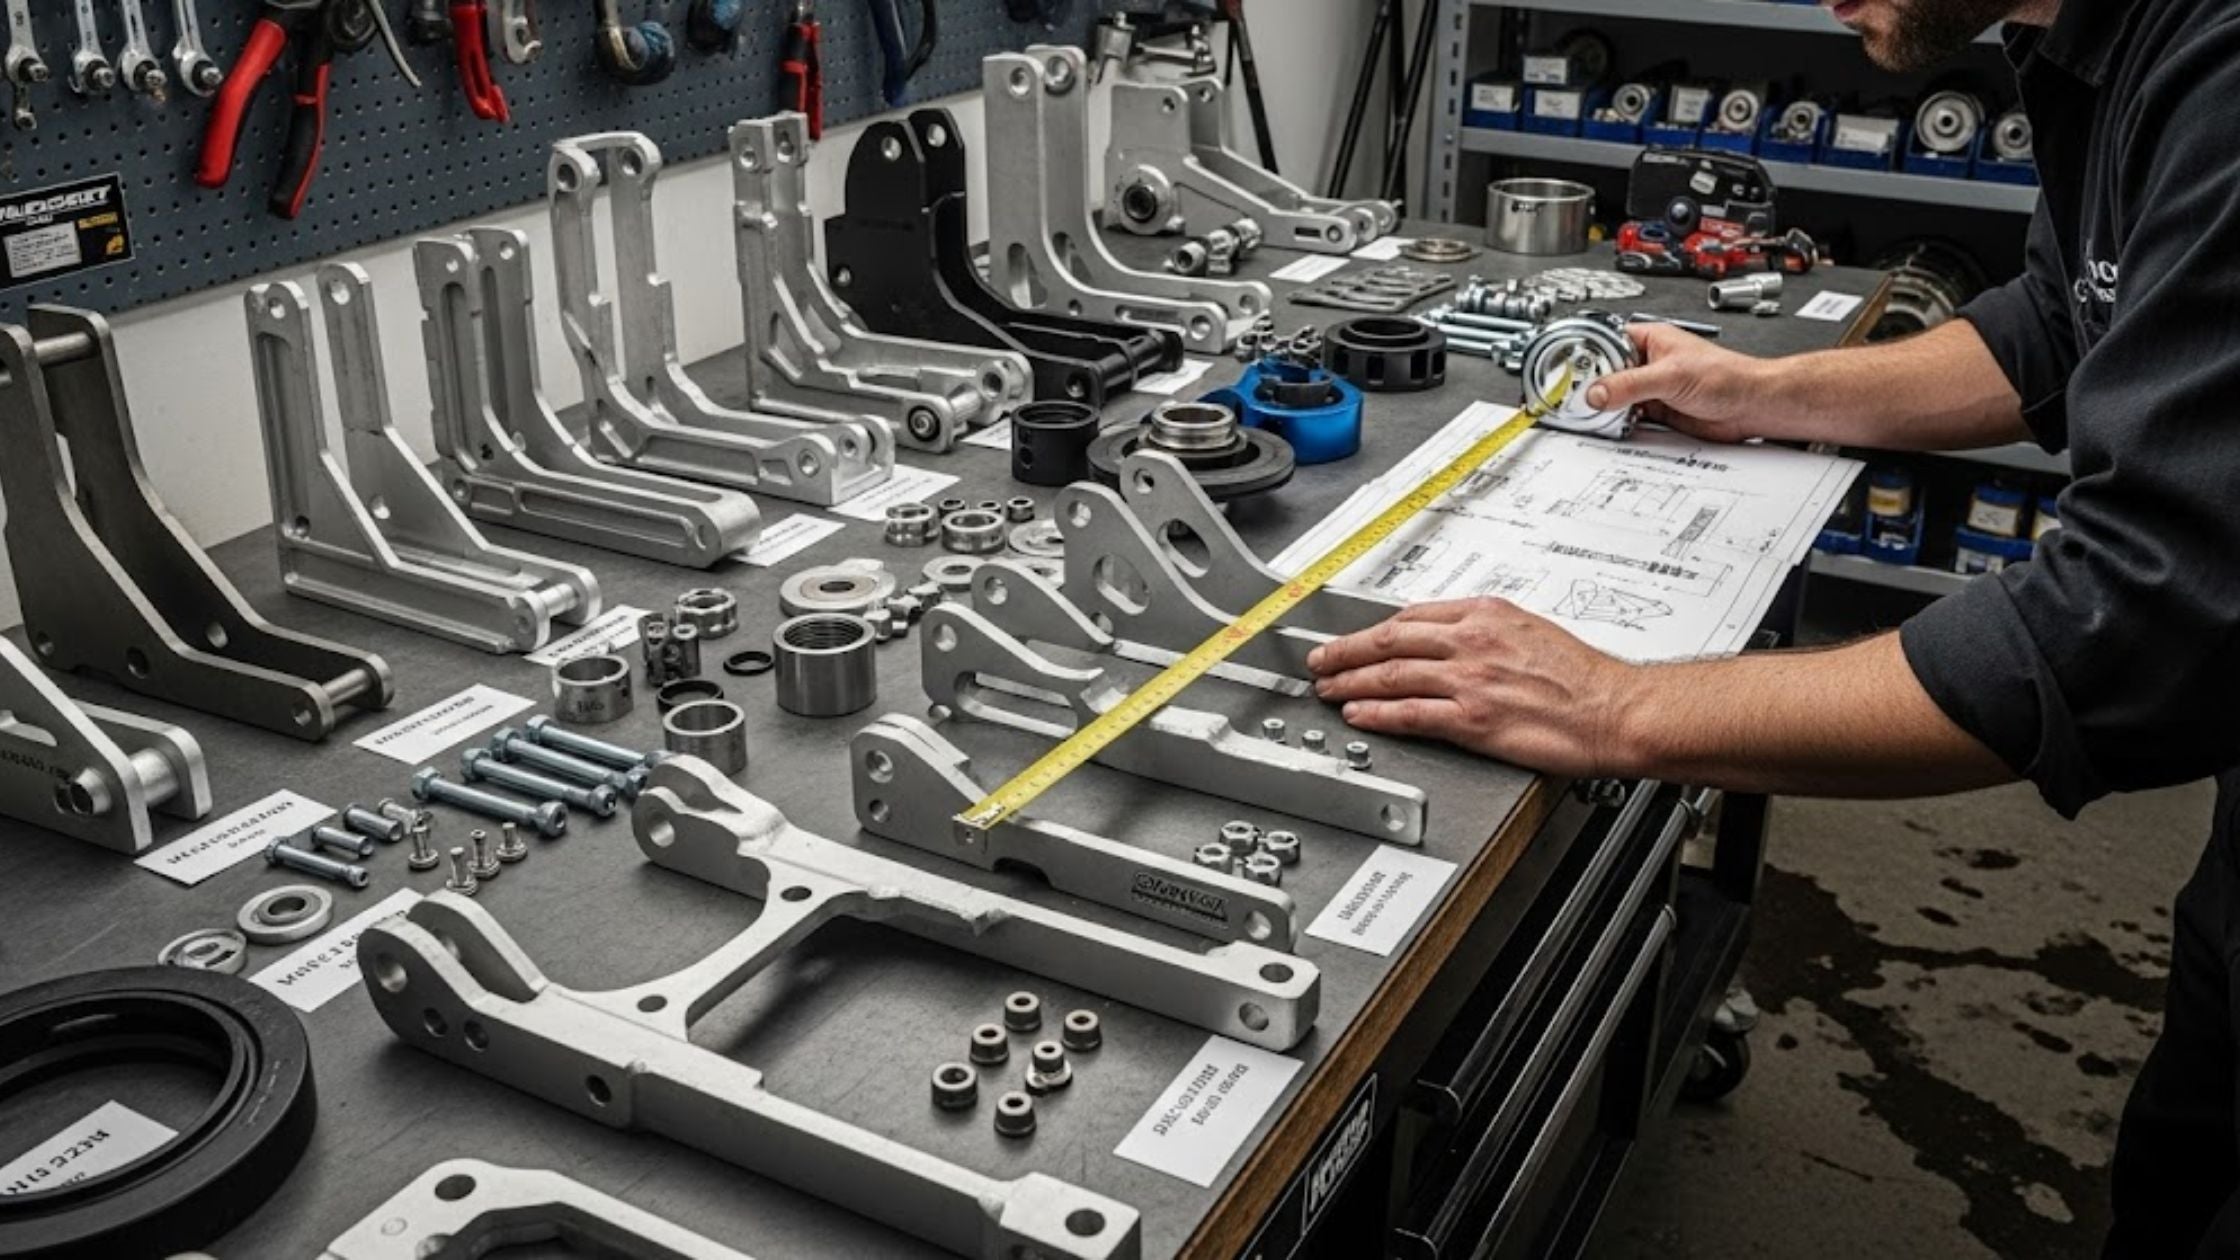
When someone asks, “What is a coil bracket kit?” I explain it this way: it’s the complete mounting system for attaching ignition coils or coil springs to your vehicle. A typical kit includes:
A top motor mount or strut tower adapter
Precision-machined bracket(s)
Chrome steel coil covers or protective shields
Stainless steel mounting hardware
Zipper’s Performance dual coil mounting kits illustrate the essentials: they use H-D® style coils and come with a special bracket and covers, designed to mount coils between cylinders with outlets facing in. Horn relocation may be required on some models.
Your suspension geometry relies on precise coil placement. A misaligned bracket can cause spring bind, premature wear, and unpredictable handling. By choosing the right kit, you maintain optimal spring preload and ride height, which translates to consistent corner grip and a smoother ride on varying road surfaces.
When I inspect builds, I often see generic mounts that don’t match tube diameter or coil pack shape—leading to vibration and stress points. That’s why understanding coil spring mounting options is non-negotiable for any serious suspension upgrade.
Different projects demand different mounting methods. You might mount coils:
On the strut tower to retain stock geometry
On a roll hoop or cage for custom off-road rigs
Between engine cylinders for minimal engine bay clutter
Choosing the right location affects service access and heat exposure. For heavy-duty off-road builds, I favor rollbar-mount brackets for strength and adjustability. On street cars, strut tower adapters preserve dynamics without compromising engine bay clearance.
Table 1: Comparing Coil Spring Mounting Options
|
Mount Location |
Strength |
Accessibility |
|
Strut Tower |
Moderate |
Easy (bolt-on) |
|
Rollbar/Cage |
High |
Moderate (welding) |
|
Cylinder-Between (engine bay) |
Moderate-High (compact fit) |
Limited space |
Brackets must fit your coil style and tube diameter. Motion Raceworks offers bracket pairs for 1 5/8″ and 1 1/4″ tubes, covering various coilpacks like Holley, AEM, Accel, and Fueltech CDI units. Always check:
Tube diameter (e.g., 1.25″ vs. 1.625″)
Coilpack footprint and mounting hole pattern
Heat-shielding requirements (if mounting near headers)
Mismatched hardware leads to stress fractures and coil movement under load.
Corrosion resistance and strength go hand in hand. I recommend:
6061-T6 anodized aluminum or CNC-machined billet steel for bracket components
Stainless steel hardware for long-term durability
Powder-coat or chrome plating for aesthetic builds
Cheaper kits may use mild steel that rusts and flexes over time, compromising spring alignment.
When selecting parts, consider your vehicle’s use case:
Daily-driven street car: Focus on corrosion-resistant finishes and noise isolation
Track or drift build: Prioritize adjustable brackets to fine-tune ride height
Off-road rig: Opt for heavy-duty, gusset-reinforced mounts
Your choice here influences overall package longevity and on-track confidence.
Standard kits are engineered for stock or near-stock strut towers. They bolt to existing mounts and provide a straightforward upgrade. Ideal for enthusiasts seeking quick, reliable installs without major fab work.
Adjustable kits incorporate slots or multiple mounting holes, allowing ±1″ of ride height adjustment. I’ve used these on performance sedans to dial in corner weights on the scales, ensuring even spring preload for consistent lap times.
When I work on brand-specific builds, such as a late-model Mustang or off-road Jeep, I refer to vehicle-specific coil kit recommendations to ensure the kit’s geometry matches factory suspension points. This step eliminates guesswork and leverages proven fitment data.
I prefer to break installs into focused stages:
Prep and Safety First Elevate the vehicle on jack stands, relieve spring preload with a spring compressor, and disconnect any nearby wiring.
Remove Old Bracket and Coil Label all connections for easy reassembly. Unbolt existing hardware and gently extract the coil.
Position New Bracket Align bracket holes with factory mounts or weld points. Check for clearance around brake lines and sway bar links.
Secure Coil and Adjust Insert coil into the bracket, snug hardware to spec, and confirm spring preload. Use a torque wrench on all bolts.
Test and Fine-Tune Lower the car, cycle the suspension, and confirm there’s no binding. If you have an adjustable kit, fine-tune ride height and spring rate as needed.
Leaving out any one of these steps often leads to bounce or noise on the road. Proper sequencing keeps the install tight and trouble-free.
A well-installed coil bracket kit should last tens of thousands of miles. To keep yours in peak condition:
Inspect hardware torque every oil change
Check for corrosion or weld cracks annually
Listen for spring shift or unusual rattles under cornering
If you hear a creak or the car feels “floaty,” re-compress the spring and re-check preload. Often, a loose bolt is the culprit.
Choosing the right coil bracket kit boils down to matching your vehicle’s suspension design, intended use, and performance goals. I encourage you to compare mounting options, verify bracket compatibility, and select quality materials to ensure a smooth installation and reliable ride. Remember, adjustable kits offer tuning flexibility, while vehicle-specific brackets guarantee a precise fit. Armed with this knowledge, you can confidently upgrade your suspension while avoiding common pitfalls.
At Quickbitz, we specialize in providing expert suspension services, ensuring you get the perfect coil bracket kit for your setup
A coil bracket kit is the hardware set used to mount coil springs or ignition coilpacks securely to a vehicle’s chassis or engine bay. It typically includes brackets, covers, and mounting hardware.
Properly fitting brackets maintain spring alignment and preload, ensuring consistent handling and ride comfort. Misaligned or cheap brackets can cause vibration, premature wear, and altered suspension geometry.
Many kits are universal, with adjustable slots or tube clamps. However, vehicle-specific kits match factory mounting points and geometry for a plug-and-play fit.
You can mount springs on strut towers, roll cages, or between engine cylinders. Each location offers unique access, strength, and exposure characteristics.
Verify tube diameter, coilpack footprint, and bracket material. Consult manufacturer specs and fitment guides to match your coil style and application.

Jun 11, 2026

Jun 11, 2026

Jun 11, 2026